I've been using Firefox's reader mode so much now.
I particuarly enjoy how the clutter reduction changes my perception on how much there is to read, making it a lot more mentally easy to quickly go through it.
I've been using Firefox's reader mode so much now.
I particuarly enjoy how the clutter reduction changes my perception on how much there is to read, making it a lot more mentally easy to quickly go through it.
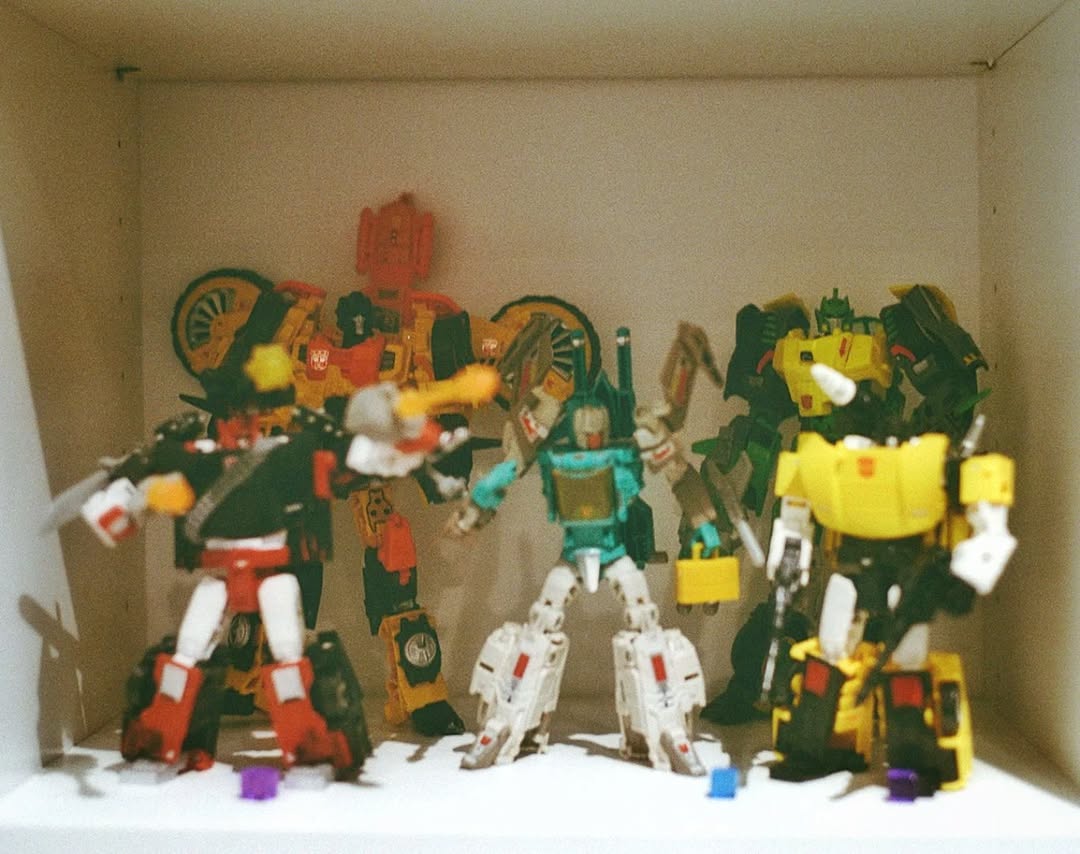
This photo is original from analog, not a digital with a filter. #transformers
Microgram: Instagram to Micropub. Contribute to jjdelc/ugram development by creating an account on GitHub.
https://github.com/jjdelc/ugram On GitHub
Finally gave myself a chance to update uGram after many years of it sitting stale.
What I notice, is that back then I could smell that the way I split the code responsibilities was very odd, but couldn't quite put it in a way I felt ok. The code worked …

Found this on the street. Did someone try to write a message or is this chance?
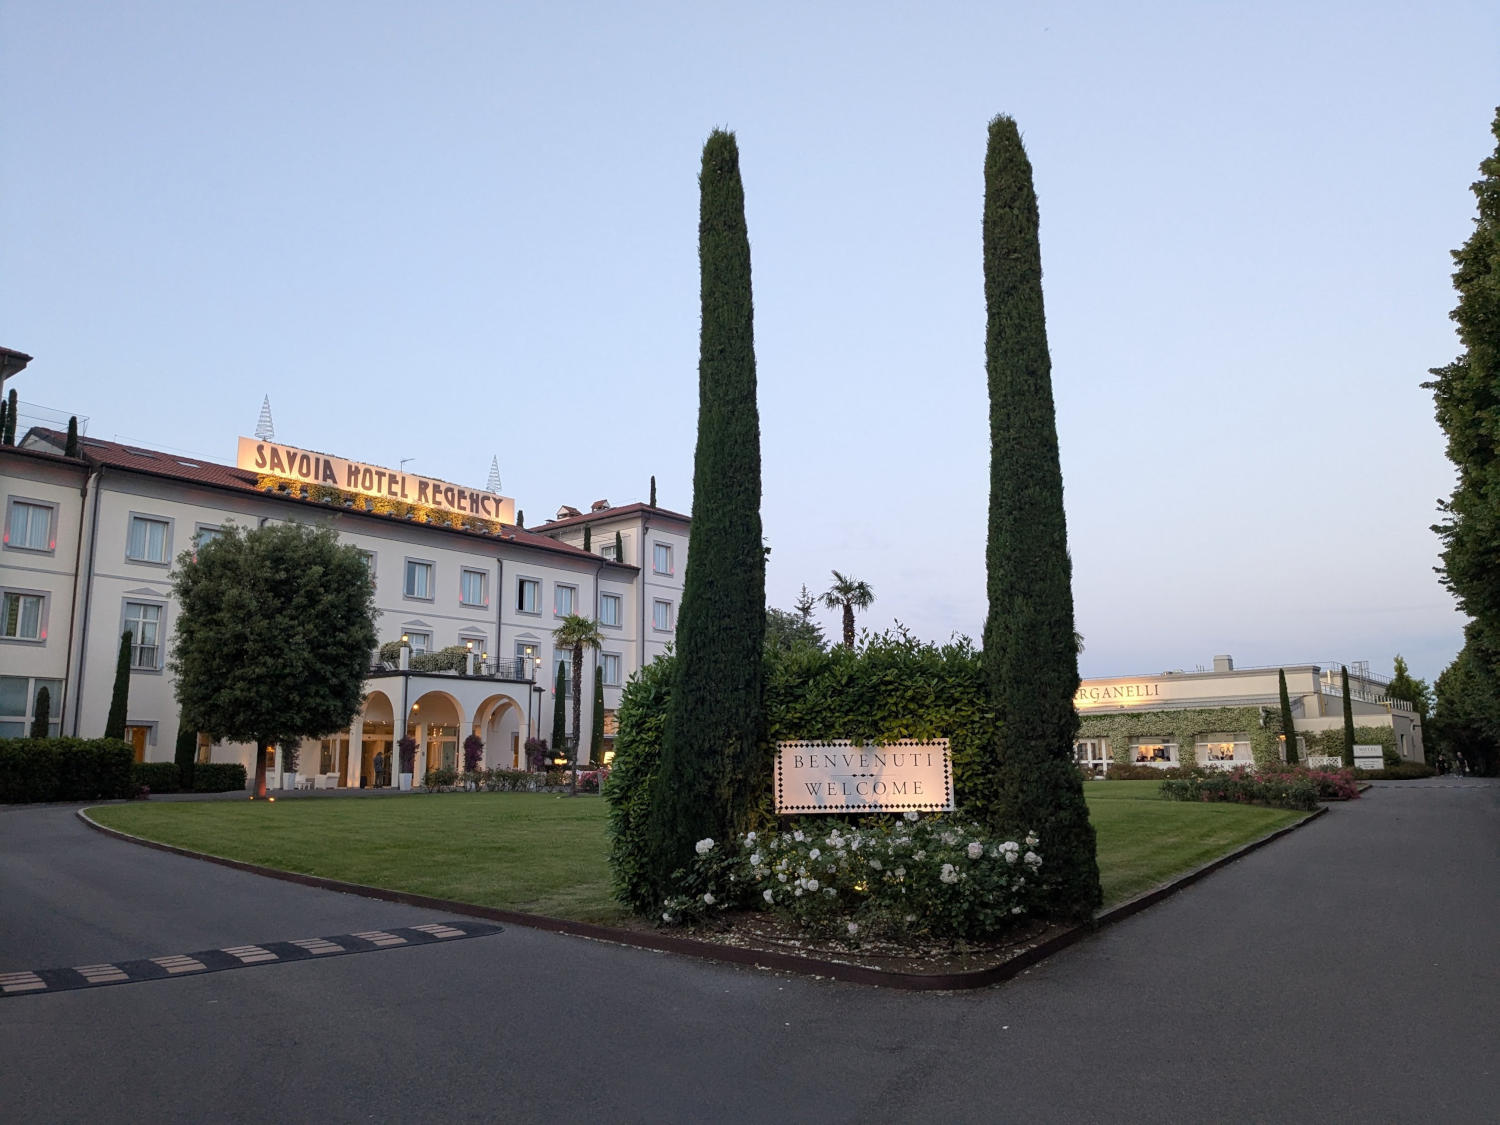
Oh man! Pycon Italy was amazing! Beautiful venue, great talks, amazing community. https://social.python.it/@pycon
You know what makes me bitter? Emails that are over 200kb.
Recognizing the self: "Being aware of being aware of being."

This week has been very special. My family came over to #london to visit me for the first time and I got to share my new life with them. I graduated from my #statistics #masters and they were here to share it with me. I felt very proud and confident …
What I've been saying lately to "if I were you" comments is that, they'd do the exact same thing. And if they believe they wouldn't they've done a poor empathy job.
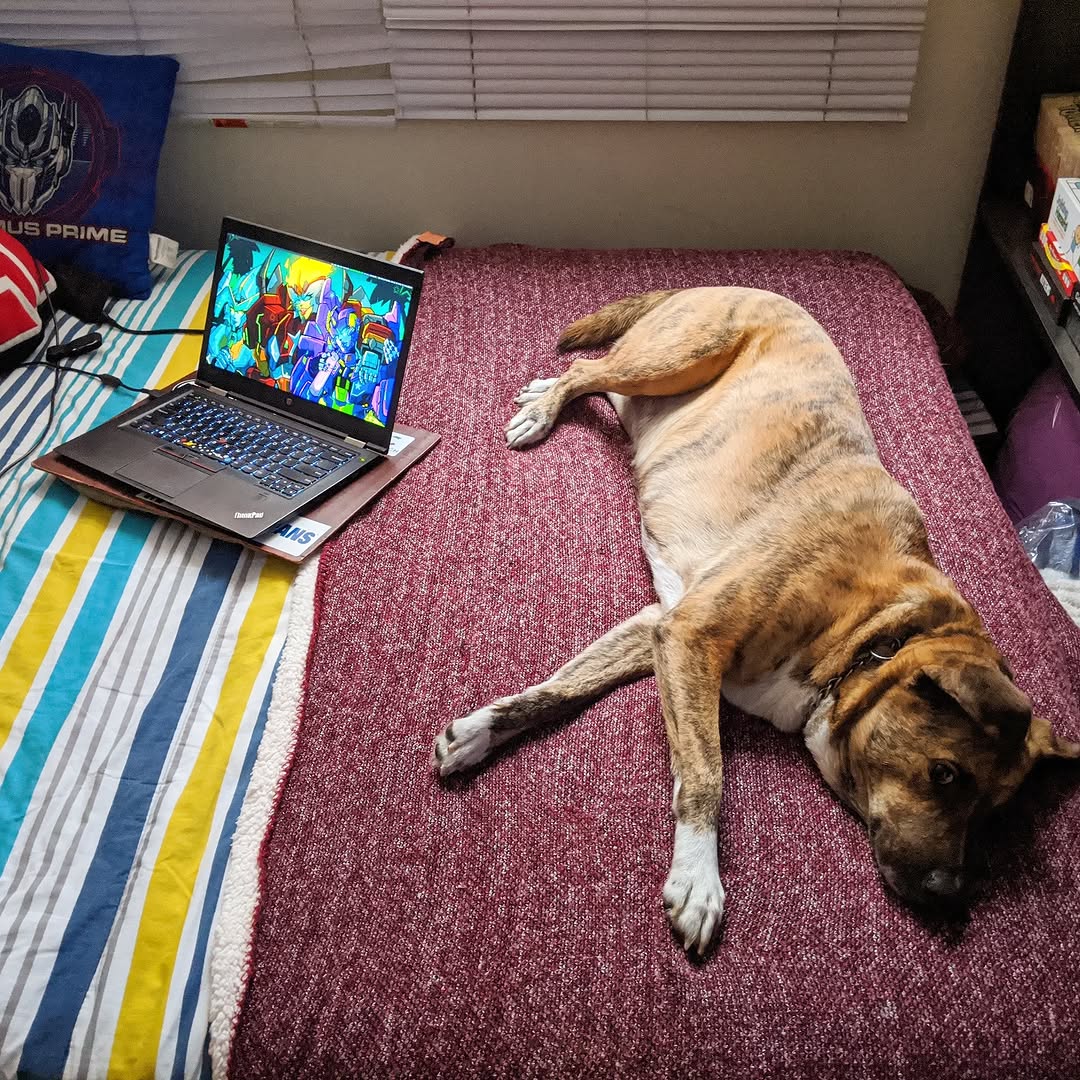
What a life this was. Waiting for me in bed. #dog #doglover #programmer
Interesting, right now the page on MCP is still empty. It has no contents yet. I wonder how long that'll last.
Older posts Apr 2025